

Constructing a pc is an effective way to grasp its capabilities. Here’s a detailed overview of find out how to construct a PC.
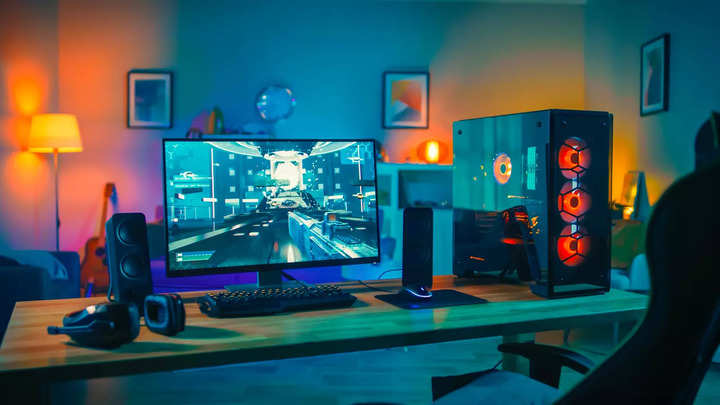
Regardless of many glorious premade PCs being accessible, nothing beats the joys of using the PC expertise. Customized PCs at all times take an additional edge in comparison with pre-built PCs as a result of it permits customers to pick in accordance with their makes use of. Whereas constructing a PC is not tough, it is perhaps intimidating. Here’s a confirmed step-by-step information to constructing a PC for these simply beginning.
Components Wanted to Construct a PC
- Energy Provide Unit (PSU)
- Reminiscence (RAM)
- Motherboard
- Central Processing Unit (CPU)
- Graphics Processing Unit (GPU)
- Storage
- System Cooling
- Working System (OS)
- PC Cupboard
Opening the Cupboard
The processing of the PC Cupboard is the simplest part. The preliminary setup is aided by the directions on the bought particular person case. Place the case on the work floor and take away the aspect panel. Take away something dangling throughout the casing – if it is nonetheless connected, push it to the aspect.
Connecting Elements
CPU:
- Take away the motherboard from its packaging with care and place it on a tough, flat, nonmetal floor.
- The change in pin positions is set by the CPU and motherboard used. Don’t bend or contact the pins; as a substitute, use a load lever to maintain them in place.
- Choose up the processor by its sides, place it appropriately with the coloured triangle of the motherboard, and punctiliously insert it into the CPU socket. Firmly however gently press the holding arm till the CPU is securely in place.
RAM and Storage:
- Earlier than inserting the RAM stick, select larger frequency RAM for finest efficiency. Press the plastic wings at every finish downwards and outward, then insert the sticks into the slot pointing straight up. Firmly press down till the RAM snaps into the slot and the plastic wings lock.
- Find the M.2 storage slot on the motherboard and gently insert the M.2 SSD into it. It is going to protrude from the motherboard at a 35-degree angle when totally inserted. To safe the SSD, push it down and reinstall the little screw.
CPU Cooler:
- Thermal paste is required for all coolers. Each CPU unit has a inventory cooler. Within the inventory cooler, thermal paste is already utilized. Within the case of the AIO cooler and water cooling system, the consumer wants to use the thermal paste on the CPU.
- Place the CPU cooler over the processor and gently push down. Any holding brackets or bolts needs to be aligned with the CPU cooler baseplate on the motherboard.
Putting in the Motherboard
After connecting all components wanted to construct a PC to the motherboard, place the motherboard inside the cupboard, rigorously aligning its rear ports with the matching holes within the I/O defend. All that is still is to safe the motherboard utilizing the screws included with the cupboard.
Mounting Energy Provide
Usually, the facility provide is situated on the again of the casing. It may be discovered on the highest, nevertheless it’s most frequently discovered on the underside, the place it could possibly draw chilly air from beneath the chassis. It is normally so simple as fastening it utilizing 4 screws on the rear of the case after it is in place. Then, join the 24-pin energy connection and the extra energy connector on the motherboard.
Graphics Card Set up
- A PCI-Specific (PCIe) x16 slot is utilized by fashionable graphics playing cards. Take the graphics card and gently slide it into the motherboard, making certain that the ports are positioned to the again of the cupboard and the PCI-Specific connector is pointing down.
- After that, tighten the screws between the GPU and cupboard.
Putting in Home windows and Required Drivers
Activate the facility provide and push the front-panel energy button. If every thing appears to be so as, full the Home windows set up course of. This can require some bios or drivers for correct functioning. Obtain all needed drivers from the producer’s web site.
Congratulations on finishing the customized PC setup! The hassle doesn’t have to return to an finish right here. As {hardware} advances, the customization capabilities of a bespoke PC change into virtually limitless. Customers might modify their configuration primarily based on their calls for and price range. By following this information, anybody can construct a PC.
FbTwitterLinkedin


